
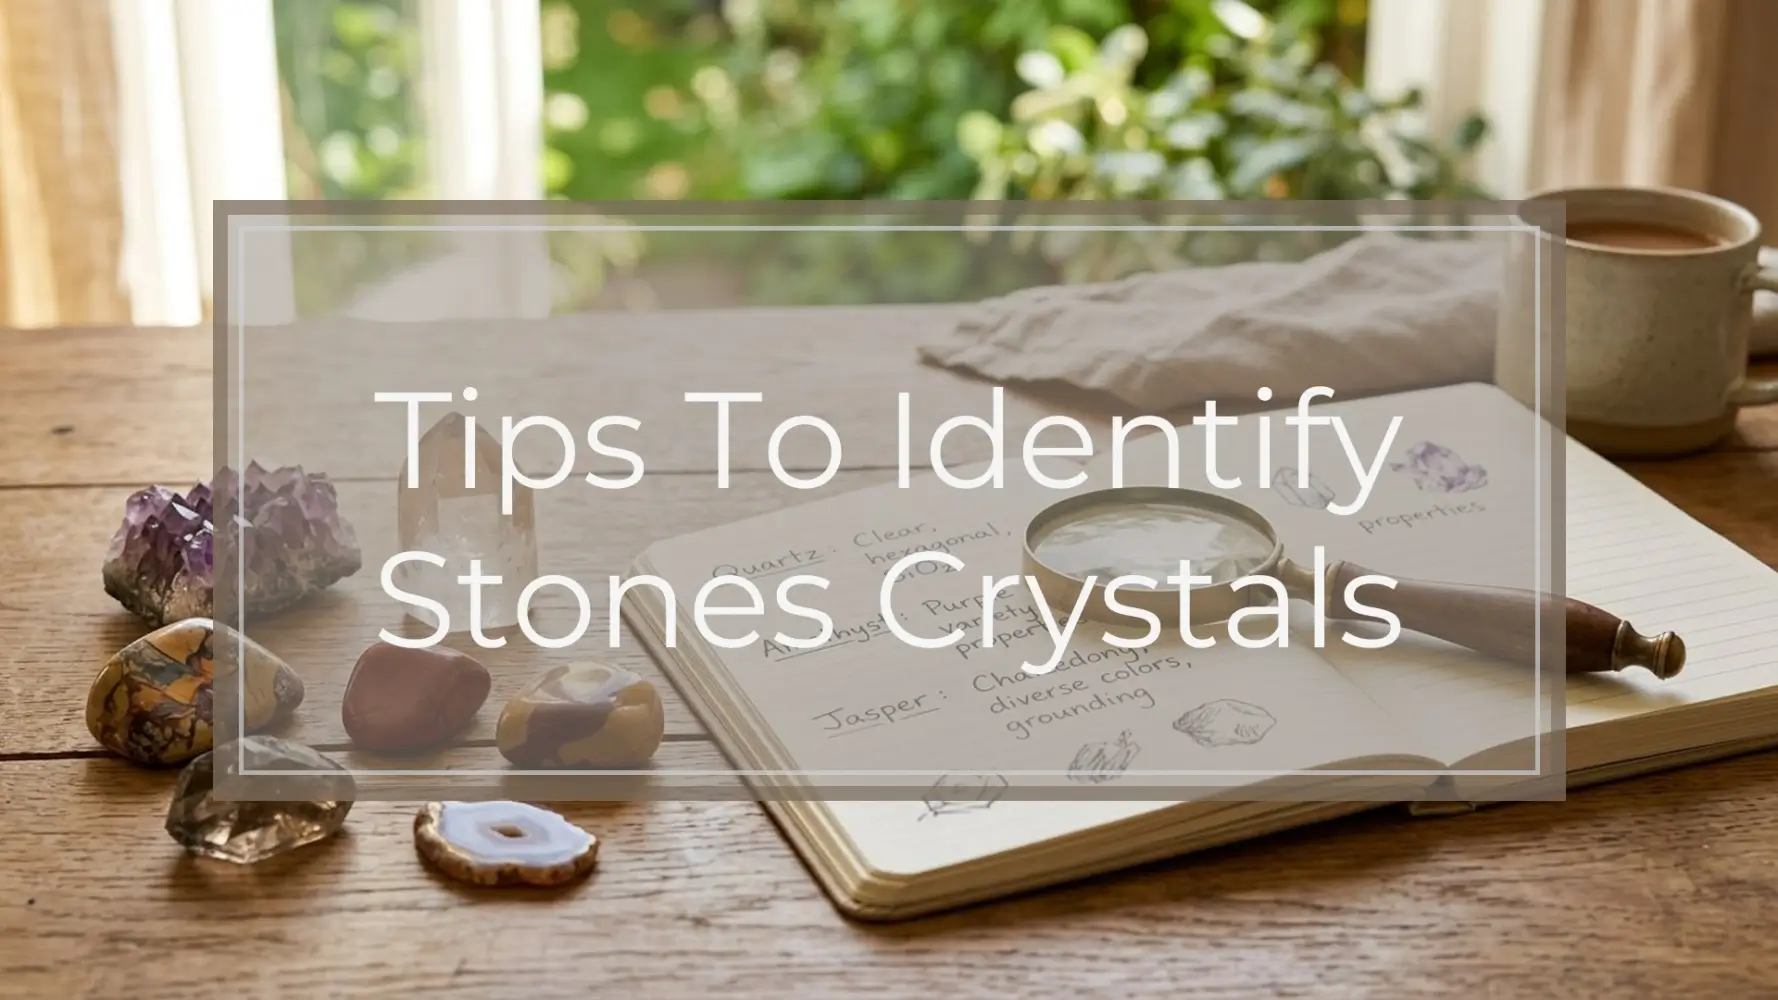
Identifying stones and crystals is easiest when you treat it like a process of narrowing down clues, not a one-second guess. Start with what you can safely observe: color, transparency, luster, crystal shape, weight, texture, banding, and inclusions. Then compare your notes with reliable crystal guides, use simple tests only when they will not damage the stone, and ask an expert when the piece is valuable, unusual, or uncertain.
Quick answer: To identify stones and crystals, start with what you can safely observe: color, transparency, luster, crystal shape, weight, texture, and any banding or inclusions. Then compare your notes with a trusted crystal guide, check simple clues like hardness and streak only when appropriate, and confirm uncertain or valuable pieces with a qualified gemologist or local rock shop. Avoid relying on color alone, because many crystals come in multiple colors and many look-alikes exist.
Crystal identification is not always perfect at home, especially with tumbled stones, dyed pieces, synthetics, or trade-name crystals. But with a consistent method, you can confidently identify many common stones and know when to label something as “likely,” “possible,” or “needs expert confirmation.”
Start Here: The Fastest Way To Narrow Down a Crystal
The fastest way to identify a stone or crystal is to move from broad observations to specific clues:
- Observe the stone in good light.
- Record what you see instead of guessing immediately.
- Compare several traits against a trusted reference.
- Use safe tests only if the stone is not fragile, valuable, polished, or sentimental.
- Confirm uncertain pieces with a knowledgeable shop, rock club, or gemologist.
Most crystal identification is about building a case. One clue may suggest a possibility, but several matching clues make your identification stronger. For example, “purple” could suggest amethyst, fluorite, lepidolite, charoite, dyed agate, or glass. But if the stone is purple, glassy, translucent, quartz-like, and has natural internal veils, amethyst becomes more likely.
The most useful first clues are:
- Color range: main color, secondary colors, zoning, or gradients
- Transparency: transparent, translucent, opaque, or mixed
- Luster: glassy, waxy, metallic, silky, pearly, dull, or resinous
- Crystal habit or shape: points, cubes, blades, clusters, layers, or massive chunks
- Banding and patterns: stripes, swirls, mossy forms, speckles, or orb-like markings
- Inclusions: needles, sparkles, bubbles, veils, fractures, or mineral growths
- Weight and feel: unusually heavy, light, smooth, gritty, waxy, or glass-like
Color alone is one of the least reliable identification methods. Quartz can be clear, purple, pink, smoky, yellow, or milky. Calcite comes in many colors. Fluorite may be purple, green, blue, yellow, clear, or banded. Jasper, agate, and chalcedony appear in countless patterns and shades.
Use the table below as a quick guide before moving into the full step-by-step process.
| Identification clue | What it can reveal | Caution |
|---|---|---|
| Color | Narrows broad possibilities and varieties | Many stones share colors; dye can mislead |
| Transparency | Helps separate quartz, agate, jasper, obsidian, glass, and others | Tumbled or thick stones may appear less transparent |
| Luster | Shows whether a stone looks glassy, waxy, metallic, pearly, or dull | Polishing can change surface appearance |
| Shape or habit | Cubes, points, blades, clusters, and layers can be strong clues | Tumbled stones lose natural shape clues |
| Banding/patterns | Useful for agate, jasper, malachite, fluorite, and others | Some patterns are dyed or enhanced |
| Inclusions | Needles, veils, sparkles, and bubbles can guide identification | Bubbles may suggest glass but are not the only clue |
| Weight | Can flag dense stones like hematite or lighter volcanic materials | Weight alone does not identify a stone |
| Hardness | Helps separate look-alikes when used carefully | Scratch testing can damage finished stones |
Common tumbled stones can often be identified with reasonable confidence. Rare specimens, expensive pieces, jewelry stones, synthetics, and questionable marketplace finds may need expert confirmation.
What You Need Before You Identify Stones and Crystals
You do not need a laboratory to begin identifying crystals, but a few simple tools make the process much more accurate. Gather:
- A clean, soft cloth
- Bright natural light or a daylight lamp
- A magnifying glass or jeweler’s loupe
- A notebook or notes app
- A phone camera
- A ruler or measuring tape
- A small scale, if available
- A trusted crystal identification book or reputable reference site
Before examining the stone, gently wipe away dust with a dry cloth. If needed, use a slightly damp cloth, but avoid soaking unknown stones. Some minerals are water-sensitive, porous, soft, or treated. Until you know what the stone is, skip salt water, vinegar, acids, soaps, oils, heat, and long water baths.
Good lighting matters more than many beginners realize. Indoor yellow light can make purple look brownish, pink look orange, and green look dull. Natural daylight or a neutral daylight lamp helps you see the true color, transparency, sheen, and inclusions.
Photograph each stone from several angles:
- Front and back
- Side view
- Close-up of patterns or inclusions
- Any broken edge or natural surface
- With a ruler or coin for scale
If you know where the stone came from, write that down. A specimen found in a local creek, purchased at a metaphysical shop, inherited from a collection, or bought as jewelry all carry different context. Source does not prove identity, but it can support or challenge a possible match.
Avoid harsh tests at the start. Do not scratch polished crystals, sentimental stones, jewelry, fragile clusters, or anything that may be valuable. Do not use acid tests casually. Do not heat stones to “see what happens.” These methods can damage the stone and may create safety issues.
If you get stuck, good expert resources include local rock and mineral clubs, lapidary shops, geology departments, mineral shows, reputable crystal shops, and certified gemologists. For expensive or resale-related pieces, professional identification is worth considering.
Step-by-Step: How To Identify a Stone or Crystal
Step 1: Observe the Color Carefully
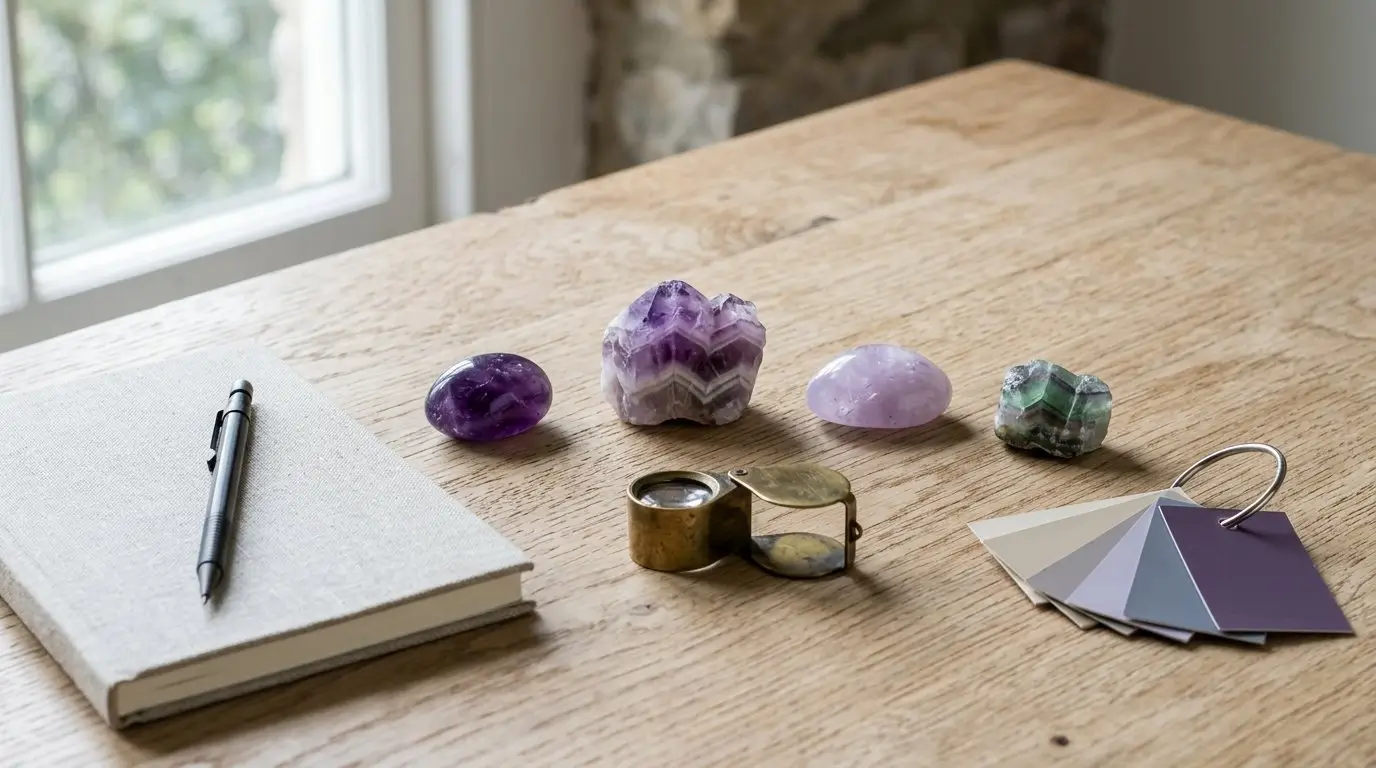
Begin with color, but do not stop there. Write down the main color and any secondary colors you notice. Is the stone solid purple, purple with white bands, pale lavender, deep violet, or purple with green zoning? Those details matter.
Look for:
- Color zoning
- Banding
- Speckles
- Gradients
- Patches of different minerals
- Surface dye collecting in cracks
For example, a green stone might be aventurine, jade, serpentine, fluorite, malachite, dyed quartzite, or glass. A black stone might be tourmaline, obsidian, onyx, shungite, hematite, basalt, or dyed material. Color opens the door, but the next clues narrow the list.
Step 2: Check Transparency
Hold the stone near a light source, but do not stare into intense light or use heat. Ask yourself whether the stone is:
- Transparent: you can see through it clearly or partly
- Translucent: light passes through, but details are blurry
- Opaque: little or no light passes through
- Mixed: some areas transmit light and others do not
Clear quartz is often transparent to translucent. Rose quartz is commonly translucent and cloudy. Amethyst may be transparent, translucent, or zoned. Jasper is generally opaque. Obsidian is often glassy and may be translucent on thin edges.
Transparency is especially useful for separating agate and jasper. Both are chalcedony varieties, but agate is often more translucent or banded, while jasper is usually opaque.
Step 3: Look at the Luster
Luster describes how the surface reflects light. It is one of the best clues for separating look-alikes.
Common luster types include:
- Glassy: quartz, obsidian, many fluorites
- Waxy: some chalcedony, serpentine, jasper
- Metallic: hematite, pyrite, galena
- Silky: satin spar gypsum, fibrous minerals
- Pearly: some mica, selenite-like surfaces
- Dull or earthy: unpolished jasper, rough stones, weathered minerals
- Resinous: some amber-like or zinc minerals
A polished black stone with a sharp glassy shine may point toward obsidian, while a black stone with a more matte, striated, or ridged texture may suggest black tourmaline. A heavy, metallic-looking gray stone may suggest hematite.
Remember that polishing can change luster. A tumbled jasper may look shinier than its rough form, and coated stones may have an artificial shine.
Step 4: Notice Shape and Structure
Natural crystal shape, also called crystal habit, can be extremely helpful when the stone is raw. Look for:
- Points or hexagonal prisms
- Cubes
- Blades
- Plates
- Layers
- Clusters
- Rounded botryoidal forms
- Fibrous masses
- Massive chunks with no obvious crystal shape
Quartz often forms points and clusters. Fluorite may form cubes or octahedral shapes. Pyrite commonly forms cubes or brassy clusters. Selenite and satin spar can show fibrous or bladed structures. Malachite may appear banded, fibrous, or botryoidal.
Tumbled stones are harder because tumbling removes natural crystal faces. With tumbled stones, rely more heavily on luster, transparency, inclusions, banding, weight, and comparison photos.
Step 5: Examine Markings and Inclusions
Use a magnifying glass or jeweler’s loupe to look inside and across the surface. Inclusions and patterns can be strong clues.
Look for:
- Bands or stripes
- Moss-like or tree-like patterns
- Rutile needles
- Sparkly mica flecks
- Internal veils or fractures
- Gas bubbles
- Color concentrated in cracks
- Tiny crystals on the surface
- Matrix rock attached to the specimen
Needle-like inclusions may suggest rutilated quartz or tourmalinated quartz, depending on appearance. Sparkles may suggest aventurine, sunstone, mica, or glittery manmade material. Round bubbles can appear in glass, though bubbles alone do not prove a piece is fake.
Banding is common in agate, fluorite, malachite, rhodochrosite, and other stones. Mossy or plume-like patterns may point toward moss agate or plume agate, but compare carefully because trade names can be broad.
Step 6: Estimate Weight and Density
Pick up the stone and compare it with another stone of similar size. Does it feel unusually heavy, surprisingly light, or about average?
Some stones are known for distinctive weight. Hematite often feels heavy for its size. Pumice and some volcanic materials can feel very light. Obsidian often feels glassy and moderately dense, while some dyed or resin-filled materials may feel lighter than expected.
Weight is only a supporting clue. Many stones overlap in density, and size can fool your hand. If you have a scale, record weight and measurements, but do not identify the stone from weight alone.
Step 7: Use Safe Hardness Clues Only When Appropriate
Hardness refers to how easily a mineral is scratched. The Mohs hardness scale ranks minerals from soft talc to hard diamond. For home identification, the concept is useful, but scratch testing can damage stones.
Common reference points include:
- Fingernail: about 2 to 2.5
- Copper coin: about 3
- Steel nail or knife: around 5 to 5.5
- Glass: about 5.5
- Quartz: about 7
For example, calcite is softer than quartz, while quartz can scratch glass. Fluorite is softer than quartz and can scratch more easily. But do not test finished jewelry, polished stones, sentimental crystals, soft minerals, or valuable specimens.
If you do use hardness clues, test only an inconspicuous area on a rough, non-valuable piece. Better yet, compare known stones and avoid destructive tests unless you are learning with practice specimens.
Step 8: Compare Your Notes to Multiple Reliable References
Now create a shortlist. Do not force one answer too early.
Search or check a guide using several traits together, such as:
- “green waxy translucent stone”
- “purple crystal cubic cleavage”
- “black glassy stone conchoidal fracture”
- “opaque red stone with black speckles”
- “banded translucent chalcedony”
Compare your stone to multiple reliable references, not just one photo. Crystal photos vary by lighting, polish, treatment, and quality. A single online image can be misleading.
Look for agreement across several traits. If your notes say the stone is opaque, waxy, and red-brown with patterns, a transparent purple crystal is not a good match no matter how similar one photo looks.
Step 9: Label the Stone With a Confidence Level
Once you have a likely answer, label the stone honestly. Use a confidence level such as:
- Confirmed: identified by a qualified expert or reliable source with strong evidence
- Likely: several traits match and no major contradictions appear
- Possible: some traits match, but other similar stones remain likely
- Uncertain: not enough information
- Needs expert check: valuable, rare-looking, unusual, or safety-related
This keeps your collection accurate and prevents one uncertain label from becoming “fact” later.
Common Look-Alikes and Identification Clues
Many identification mistakes happen because stones share colors, polish styles, or trade names. These comparisons can help you slow down and look for better clues.
Clear Quartz vs Glass
Clear quartz is natural silicon dioxide and may show internal veils, fractures, growth lines, or mineral inclusions. Glass may show round bubbles, molded shapes, overly smooth uniformity, or unnatural coloring. However, this is not foolproof. Some natural quartz can be very clear, and some glass can be made without obvious bubbles.
Use multiple clues: temperature feel, inclusions, shape, hardness when safe, and source.
Amethyst vs Purple Fluorite
Amethyst is a purple variety of quartz. Purple fluorite can look similar, especially when polished. Fluorite often shows color zoning, cubic cleavage, and may appear in purple, green, blue, yellow, or clear bands. Amethyst usually has a glassy quartz look and may form points or geodes.
Hardness differs, but be careful: fluorite scratches more easily, so testing can damage it.
Rose Quartz vs Pink Calcite
Rose quartz and pink calcite can both appear soft pink and soothing in color. Rose quartz is generally harder and often cloudy or translucent. Calcite is softer and may show cleavage surfaces or a different kind of waxy-to-vitreous look.
Avoid casual acid testing. It is unnecessary for most collectors and can harm the stone.
Jade vs Serpentine vs Dyed Quartzite
Many green stones are sold under broad or confusing trade names. True jade refers to jadeite or nephrite, but serpentine, aventurine, dyed quartzite, and other green stones may be marketed in ways that confuse beginners.
Exact identification of jade-like stones often requires expertise. If the piece is expensive, inherited, or being resold, seek professional confirmation instead of relying on color and polish.
Citrine vs Heat-Treated Amethyst
Natural citrine exists, but many bright orange or burnt-yellow “citrine” clusters on the market are heat-treated amethyst. These pieces may have intense orange tips, white bases, and a geode-like form.
This does not automatically make the stone “bad.” The important point is honest labeling. If you care about natural versus treated material, buy from transparent sellers and ask questions before purchasing.
Agate vs Jasper
Agate and jasper are both chalcedony varieties, so they can overlap. Agate is usually more translucent and often banded. Jasper is generally opaque and may show earthy patterns, speckles, or scenic designs.
A stone can also contain both jasper-like and agate-like areas. In that case, a broader label such as “chalcedony” or “agate/jasper” may be more honest until confirmed.
Black Tourmaline vs Obsidian vs Onyx
Black tourmaline often appears ridged, striated, or column-like in raw form. Obsidian is volcanic glass and usually has a glassy shine with curved, shell-like fracture. Onyx is a form of chalcedony and is often polished smooth; some black onyx on the market is dyed.
Look at texture, shine, fracture, and weight. A raw black crystal with long grooves is different from a glossy black glass-like piece, even if both are black.
Dyed, Coated, Synthetic, and Mislabeled Stones
Marketplace confusion is common. Stones may be dyed to intensify color, coated to create rainbow effects, reconstituted from fragments, grown synthetically, or sold under vague trade names.
Clues include color collecting in cracks, extremely uniform brightness, surface coatings that chip, unnatural neon shades, or labels that sound more like marketing than mineral names. When in doubt, label cautiously.
Mistakes, Cautions, and Troubleshooting When You’re Not Sure
The biggest mistake is identifying by color only. Color is helpful, but it changes with impurities, lighting, treatments, and mineral variety. Many unrelated stones can be green, purple, pink, black, or clear.
Another common mistake is trusting a seller label without checking. Keep the label, because it is useful context, but verify it with observation. Sellers can make mistakes, and some trade names are broad rather than exact mineral identifications.
Avoid destructive tests on unknown stones. Scratch tests, acid tests, heat tests, soaking, salt, and chemical cleaners can damage minerals. Some stones are soft, porous, brittle, dyed, coated, or water-sensitive. If the stone is polished, fragile, sentimental, or valuable, do not test it harshly.
Also avoid assuming every unusual crystal is rare or valuable. Interesting does not always mean rare, and rare-looking does not mean expensive. Identification and appraisal are different skills.
If the stone is tumbled, focus on:
- Luster
- Transparency
- Banding
- Inclusions
- Weight
- Surface patterns
- Comparison with multiple photos
If the stone is raw, focus on:
- Natural crystal habit
- Cleavage or fracture
- Matrix rock
- Growth patterns
- Texture
- Associated minerals
If the stone looks too bright, too uniform, or too perfect, consider dye, coating, glass, resin, or synthetic material. Bright blue, neon pink, vivid purple, and perfectly even color deserve a closer look, especially if the price seems unusually low.
If multiple IDs fit, write down the top two or three possibilities. For example, instead of forcing “jade,” label it “green stone: possible serpentine/jade/aventurine.” This is more accurate than choosing a name based on hope.
For safety, wash your hands after handling dusty unknown specimens. Avoid inhaling mineral dust, sanding unknown minerals, or keeping crumbly specimens where children or pets can access them. Most display crystals are safe to handle normally, but dust and unknown mineral composition deserve basic caution.
How To Confirm Your Identification and Label Your Collection
A reliable home identification should pass a simple result check. Before you label a stone as identified, ask:
- Does it match several traits, not just color?
- Do transparency, luster, pattern, and weight make sense?
- Are there any major contradictions?
- Have I compared it with at least two reliable references?
- Does the source or seller information support the ID?
- Could it be dyed, treated, synthetic, or mislabeled?
If the answer is mostly yes, you may have a strong “likely” identification. If several traits conflict, keep it as “possible” or “unknown.”
Use clear confidence levels on your labels:
- Confirmed: verified by an expert, lab, or highly reliable source
- Likely: strong match across several traits
- Possible: some match, but uncertainty remains
- Unknown: not enough information yet
A simple collection label can include:
- Stone name
- Variety, if known
- Confidence level
- Source or seller
- Date acquired
- Notes, such as “possibly dyed” or “found in creek bed”
For example:
Amethyst cluster — likely — purchased 2024 — purple quartz points, white matrix, no expert verification.
Or:
Green tumbled stone — possible serpentine or aventurine — unknown source — needs confirmation.
Keep uncertain stones separate from confirmed ones, at least in your records. This prevents labels from getting mixed up and helps you revisit uncertain pieces as your knowledge improves.
Professional identification is worth it when the stone is expensive, set in jewelry, inherited, intended for resale, rare-looking, or connected to a safety concern. A local rock shop may help with common minerals, while a certified gemologist is better for gemstones and jewelry.
Most importantly, enjoy the learning process. Crystal identification becomes easier as you build a mental library of textures, patterns, weights, and crystal habits. You do not need to know everything immediately. A careful “likely” is better than a confident wrong answer.
FAQ
What is the easiest way to identify a crystal at home?
The easiest method is to observe several safe clues: color, transparency, luster, shape, banding, inclusions, and weight. Write them down, compare with trusted references, and avoid relying on one trait. Label the crystal as likely, possible, or unknown if you are not fully sure.
Can I identify a stone by taking a picture of it?
A photo can help, especially when asking a rock shop or mineral group, but it rarely proves an identification by itself. Use clear lighting, multiple angles, close-ups, and scale. Apps and image searches can suggest possibilities, but you should still compare physical traits.
Why is color not enough to identify crystals?
Many crystals come in several colors, and many unrelated stones share the same color. Treatments, dyes, lighting, and polishing can also change appearance. Purple could be amethyst, fluorite, lepidolite, glass, or dyed stone, so color must be combined with other clues.
How can I tell if a crystal is real or glass?
Look for natural inclusions, veils, growth patterns, fracture style, bubbles, and surface texture. Glass may show round bubbles, molded shapes, or overly uniform color, but not always. Quartz and glass can look similar, so use multiple clues and seek expert help for valuable pieces.
Should I scratch test my crystals?
Usually, no. Scratch testing can permanently damage polished, soft, sentimental, or valuable stones. Hardness is useful, but it should be tested only on rough, non-valuable specimens and in an inconspicuous spot. When in doubt, skip the test.
Where can I get a stone professionally identified?
Try a reputable local rock shop, lapidary shop, rock and mineral club, geology department, gem and mineral show, or certified gemologist. For jewelry, valuable stones, inheritance pieces, or resale, a qualified gemologist is usually the best option.